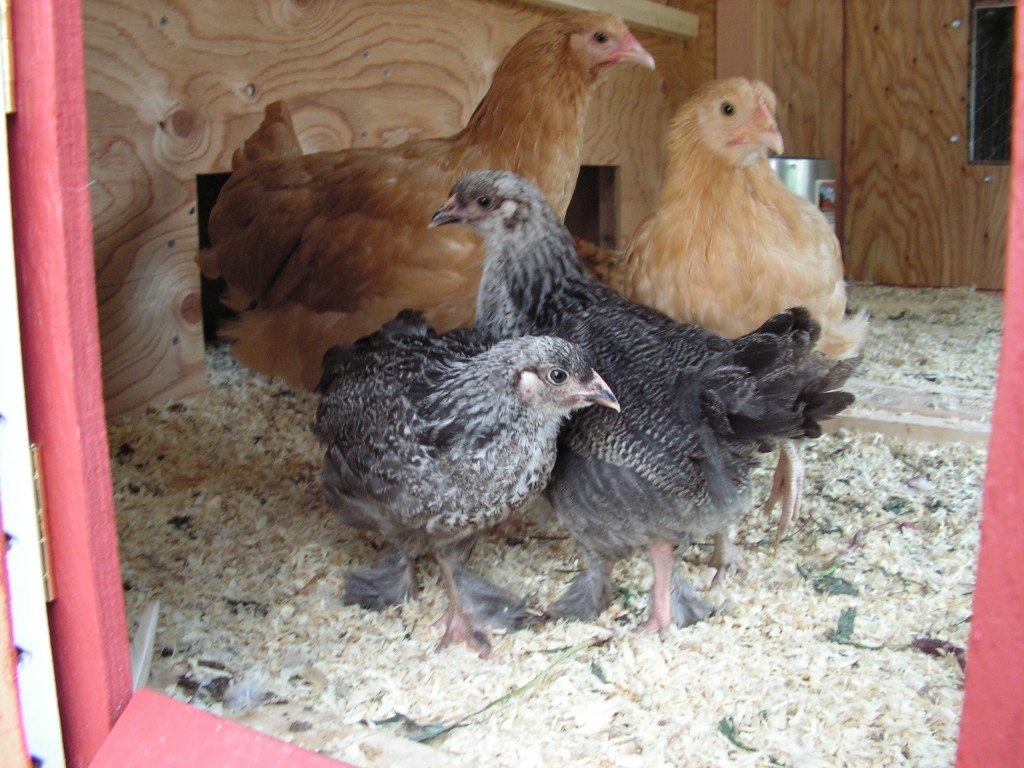
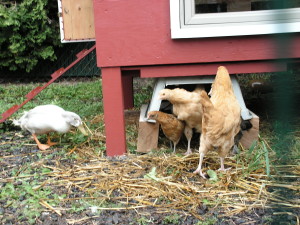
Our vegetable garden provides us with delicious fresh vegetables, but we were looking for more… So we took the big leap and added chickens! Once we made up our mind that we were really going for the idea of having chickens, we naturally began thinking about housing for our birds. We briefly considered buying a pre-built hen house, but we didn’t see anything we really liked on the local market and the idea of building our own hen house was far more appealing. After all, when you build it yourself you can add all the special features you want!
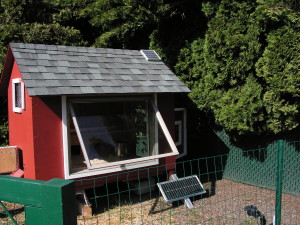
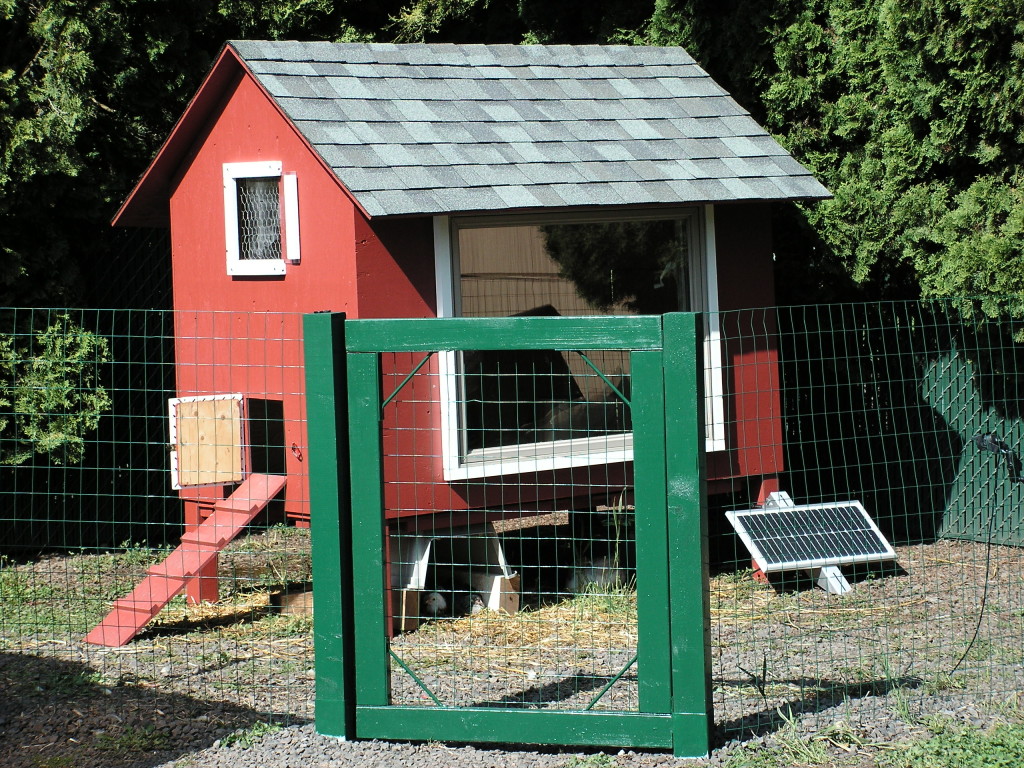
We started out by browsing the hen house designs at backyardchickens.com, and really liked many elements of the FiveHens Coop. We ended up making quite a few changes to it, including a large south-facing window that opens, and a nesting box that is separate from the main house frame to increase the “living area” available to our chickens.
Designing the Hen House in Google Sketchup
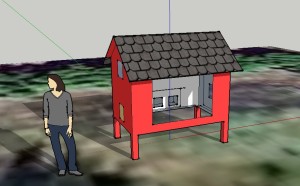 The designers of the FiveHens Coop used Google Sketchup, a great tool for home DIYprojects, and we ended up using it as well. Google Sketchup is a free software program that anyone can use to draw 3D models, and you can learn how to use it in 5 minutes. Drawing the entire design to scale in Google Sketchup makes building the hen house a lot easier since the software allows you to take measurements from any corner, edge, or point of your virtual 3D model, and you can also zoom, pan, and rotate to any desired view and even “look into” your hen house. We even ended up geo-locating our model to figure out how long the roof overhang needed to be so it creates a shadow over the window in the summer but allows the light of the low-angle winter sun in. Google Sketchup allows you to see shadows on your 3D-Model and simulate them at various times of the year. It’s a pretty impressive, fun, and easy to use tool, you should check it out if you haven’t used it yet!
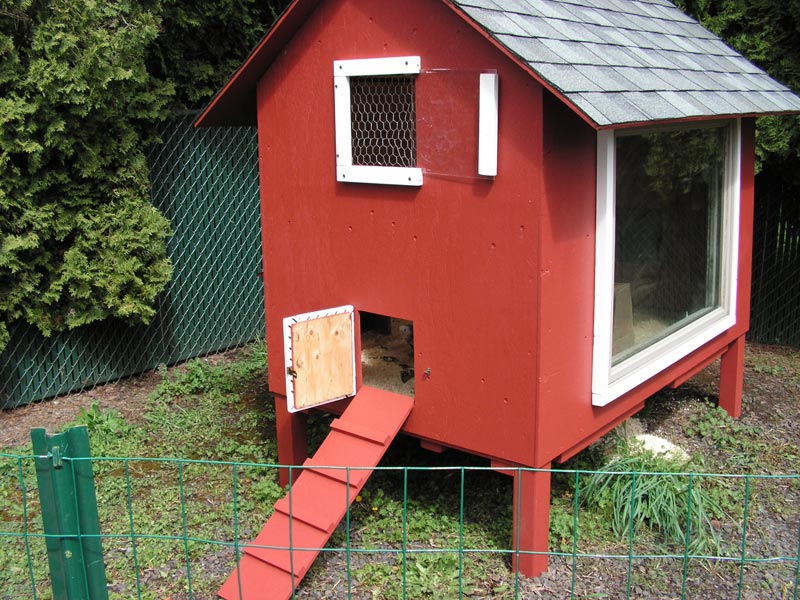
We designed our hen house to very comfortably house 6 hens (more than 4 sqft per hen). It’s floor dimensions are 6.5ft x 4ft (26 sqft), the floor is 18″ off the ground, and the distance from floor to roof ridge is 5.5ft. We picked our dimensions with Fibonacci ratios in mind, for aesthetic looks, and who knows, maybe hens lay more eggs in a Fibonacci Hen House! 🙂
Building the Hen House – Getting Started
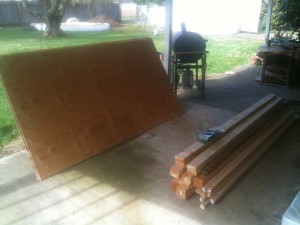
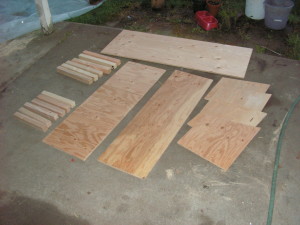
Once we completed the design we bought the lumber and hardware needed. A lot of it we got from our local recycling center including the large 3×4 foot window and most of the hardware. We tried to buy our lumber from local sources using Craigslist, but ended up getting it at Home Depot since we couldn’t find what we needed. Here are pictures of the materials at the time we got started. Note: we used only untreated lumber. The chemicals in pressure treated lumber are toxic and could be hazardous to the chickens.
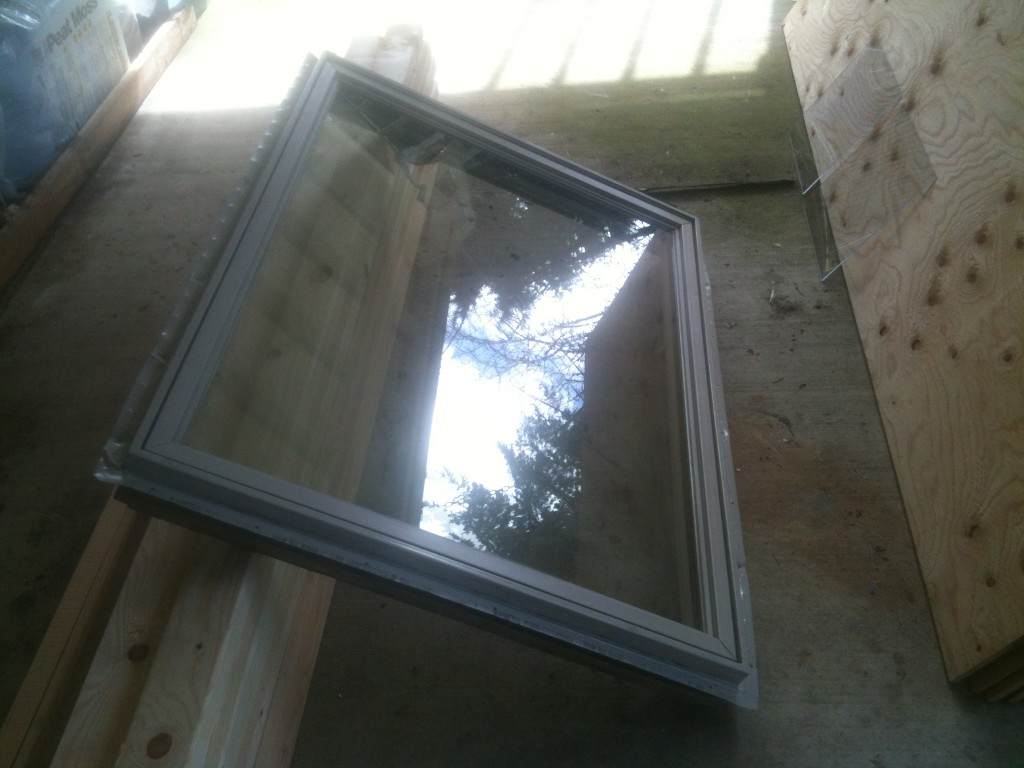
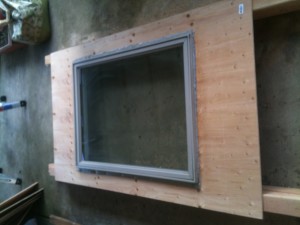
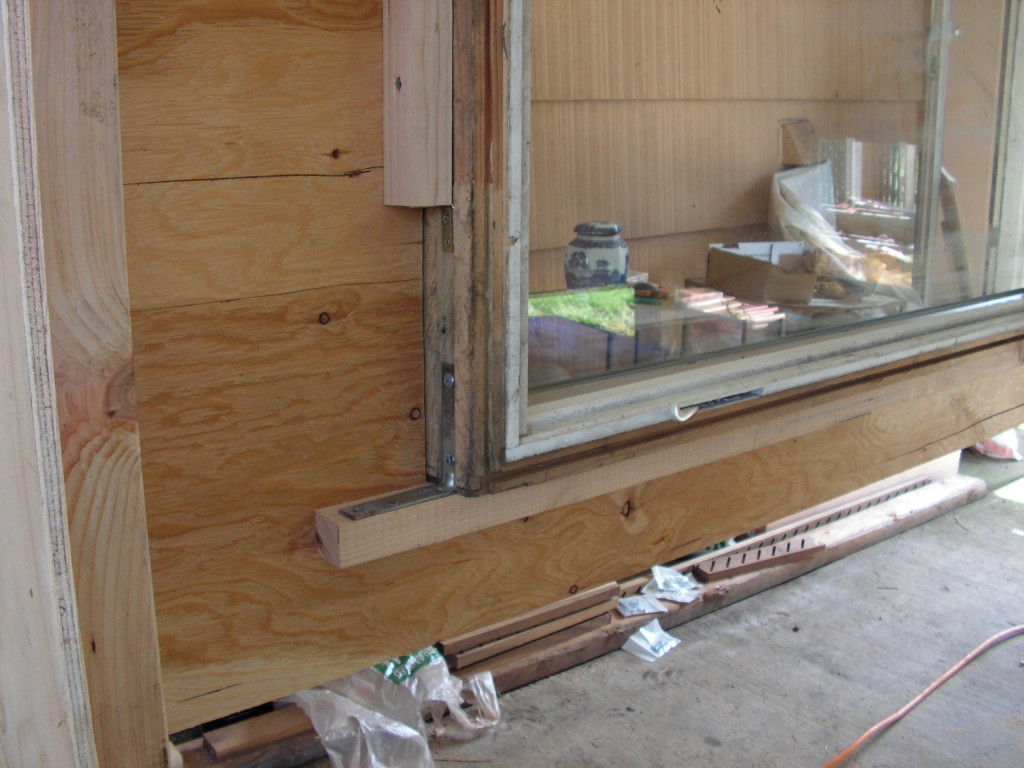
We bought the double-pane window at our local recycling place BRING – The Planet Improvement Center for only $15. We love this place, they got all kinds of stuff, and good prices. This window has a little crank handle and can be opened about a foot at the bottom, good for circulation on hot summer days.
The window was framed in with 2x2s and some angle brackets. The outside trim was sealed with silicone.
Mounting the Walls
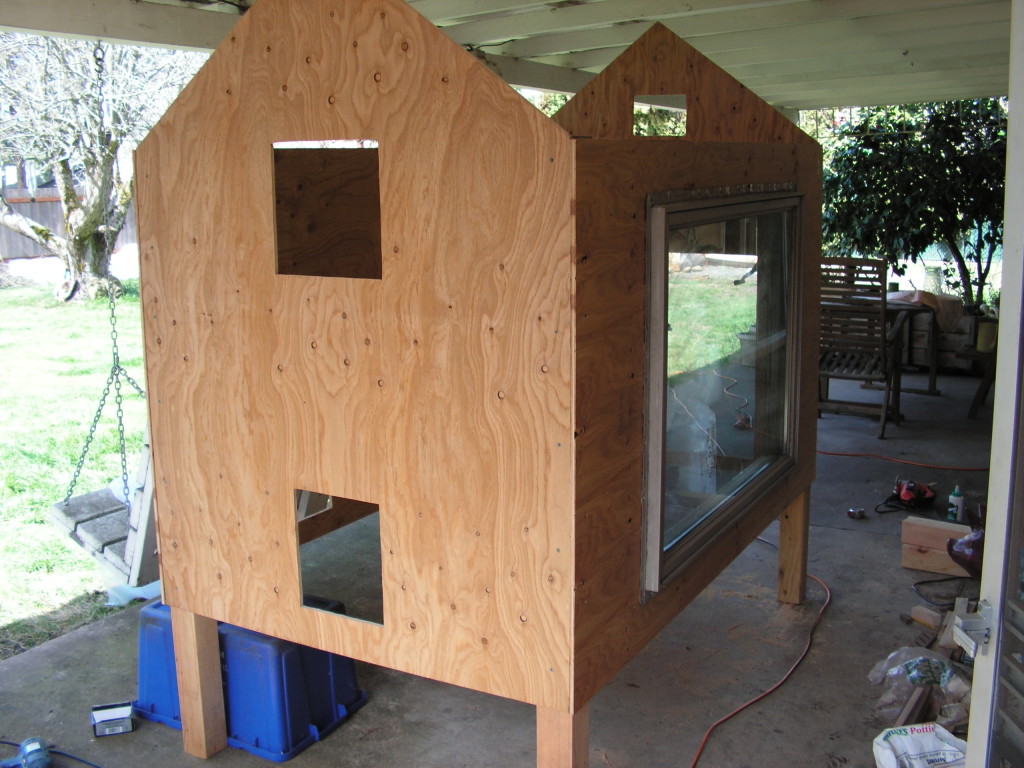
Once the four sidewall pieces were cut out of 1/2″ 4×8 plywood sheets, we attached them to each other using 4×4 corner posts. The wall pieces are screwed into the corner posts with outdoor wood screws. There is also a 2×4 frame running along the bottom of the walls. It gives the house a lot of structural support, and will later hold the floor.
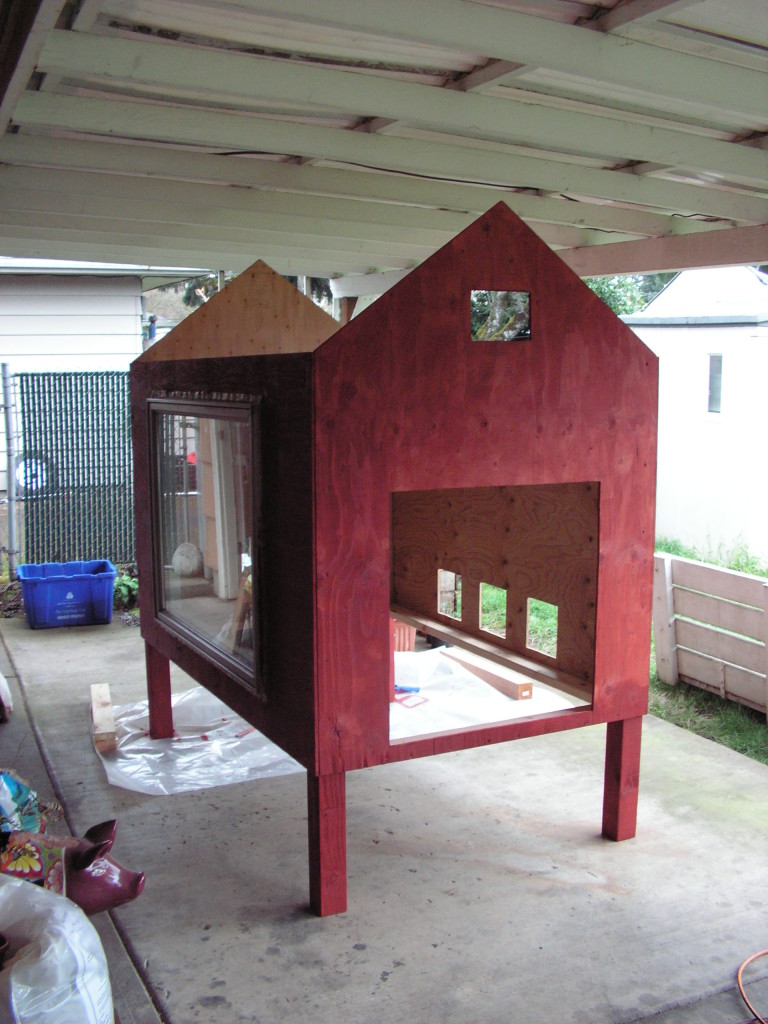
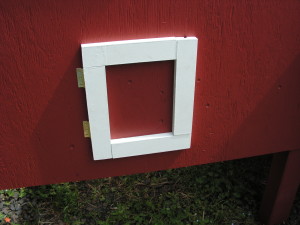
One sidewall has cutouts for the chicken door and a square window. The other one has a large square cutout for an access door, and a small one for a vent.
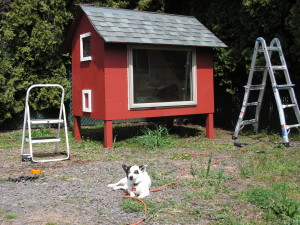
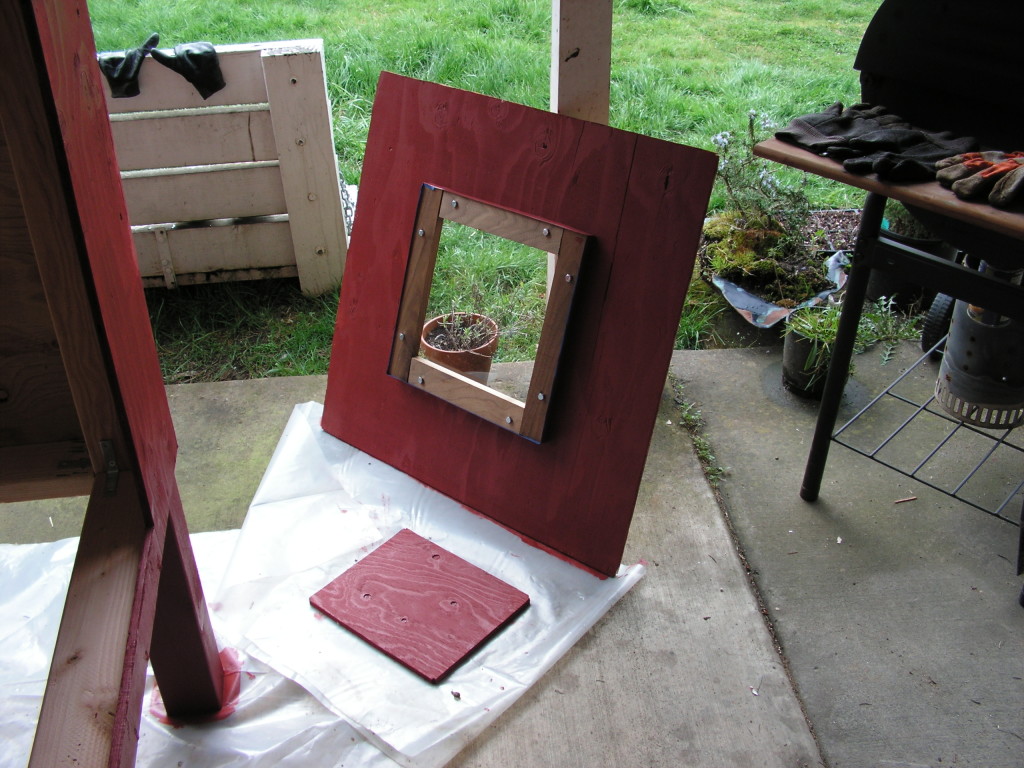
Once the walls were mounted we painted them with recycled latex paint. We picked barn-red for most of the surfaces, with white for the window and door frames. We ended up applying 3 coats of paint, for durability and better looks. We did not paint any interior surfaces of the hen house.
The Roof
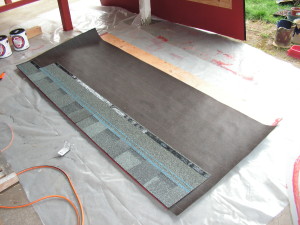
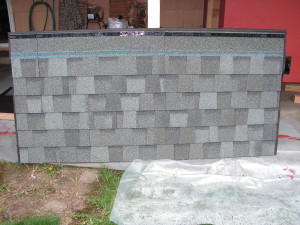
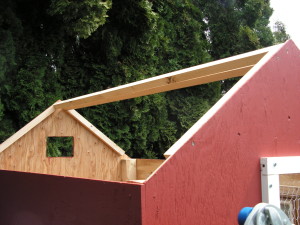
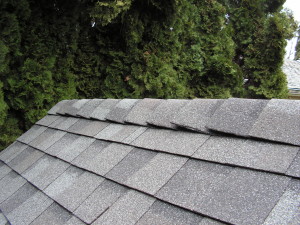
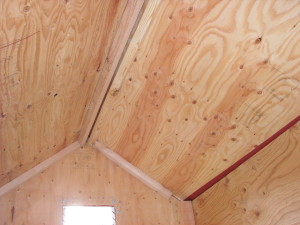
The roof consists of two shingled plywood panels, and we went with 1/2″ plywood again for stability. Each roof panel is held up by a single 2×2 beam going across length-wise, near the ridge, and short 2×2 pieces screwed against the slanting portion of the sidewalls to provide some “meat” for attaching them to the main frame of the house with screws. We decided to shingle the roof panels while they were still on the ground which ended up being a good idea. Note: The roof panels were painted on the underside and edges that are exposed to the weather.
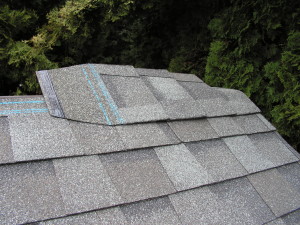
Before we mounted the roof we had to carry the frame of the hen house to its final location, otherwise it would have been too heavy. Our friendly neighbor was happy to help us out. Once the panels were up, we covered the gap along the ridge with a piece of tar paper and completed the shingling job. We also used shingles to create a ridge cap, which looked great and made sure the roof is water proof.
Putting shingles on and making your own ridge cap with shingles is easier than you may think, here’s a great resource on shingling roofs that tells you everything you need to know.
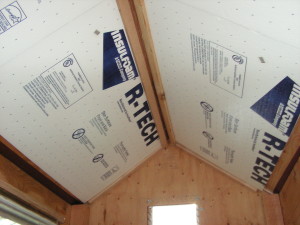
We added styrofoam insulation panels to the inside of the roof, those panels were simply cut to size with a box cutter and glued to the plywood with wood glue.
Mounting the Doors and Windows
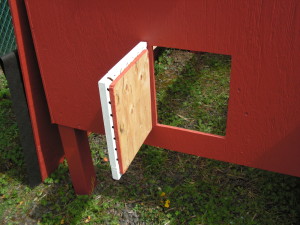
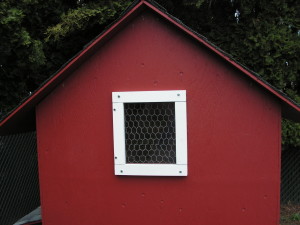
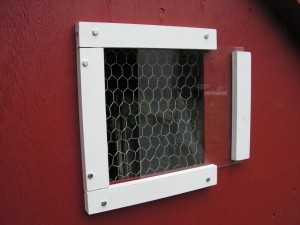
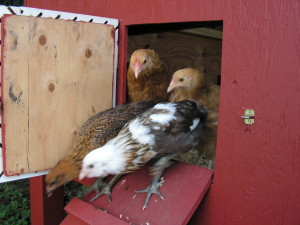
The wall that has the chicken door is facing West. It’s framed with some recycled lumber and mounted with two small hinges to the wall. The window above the chicken door is covered with chicken wire on the inside, and also has a framed plexiglas slider that can slide in and out to open it for ventilation when it gets warm, or keep it closed during cold winter days.
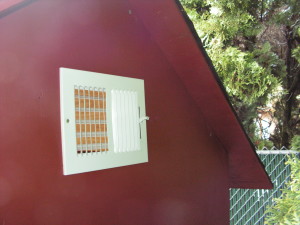
On the opposite side, we got our access door (facing East), and above it we mounted a simple ceiling/sidewall vent from Home Depot that can be opened and closed as needed.
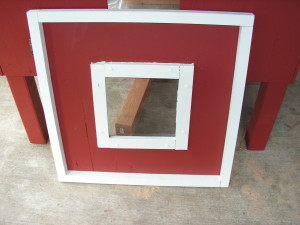
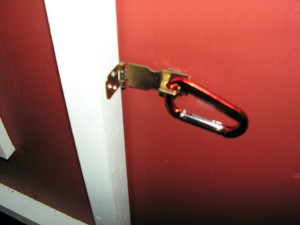
Both doors ended up being the cut-out pieces from the side wall holes. We used 2x2s to create a frame which overlaps the door and allows easy mounting to the sidewalls with hinges. The access door has a plexiglass window, we wanted the chickens to have plenty of light in the house. We keep the doors latched with carabiner hooks, easy to open and close, and predator proof.
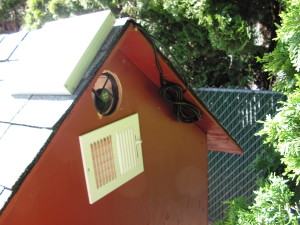
Later on, we ended up adding a little computer fan above the vent, just to keep the air circulating and fresh. A small 12V/5W solar panel mounted on the roof is powering the fan directly, running the fan only when it’s needed, on hot sunny afternoons. But we later found that the large window that opens up in combination with the large access door really takes care of keeping the house cool on hot days. Our chickens end up sitting on the access door frame, enjoying a breeze that comes through the large window. 🙂
The Hen House Nesting Box
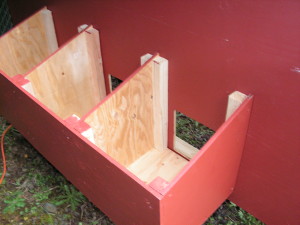
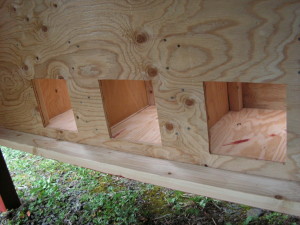
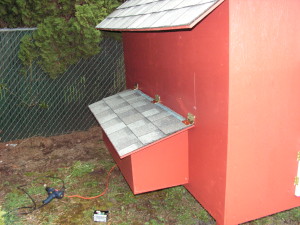
Building the nesting boxes ended up being pretty simple, and Google Sketchup was a great help when measuring and cutting all the plywood pieces to length. We decided that three nesting boxes was plenty for six hens, they should be able to share. Each nesting box has a vertical 2×2 post in every corner, and that’s all that was needed to give it structural support and a way of mounting it against the back wall. Each nesting box compartment is 14″ wide, 14″ high at the entrance and 12″ high in the back. The house wall that holds the nesting box has three 8″x8″ “door” cutouts for each nesting box. The roof of the nesting boxes is shingled just like the main roof, and the roof is also a lid that flips open for easy access and closes with a latching carabiner. When we first got our chicks, we were amused to discover that they all crowded into one nesting box in the evening, in what we have fondly come to call “the huddle”. They no longer huddle in the nesting box (they don’t all fit in one box anymore), but they do still huddle in the main house at sunset chirping loudly to demand that all doors and windows be closed pronto. 🙂
The Floor
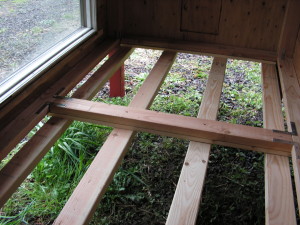
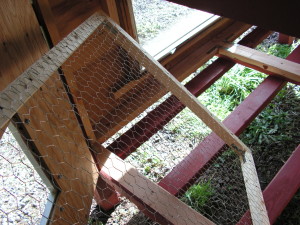
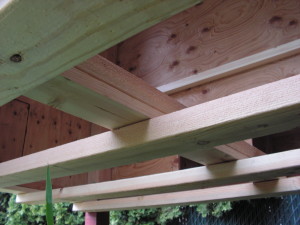
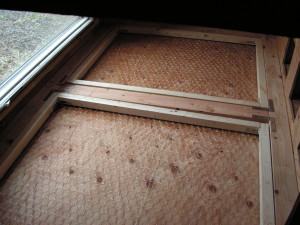
We kept the floor till last. The hen house was a lot easier to build and work on this way. The floor consists of two removable plywood sliding panels with 2×2 handles that rest on 2×4 support beams and can slide in and out for easy access and cleaning. On top of the plywood are two removable “chicken wire frames” that can also act as a light-weight floor option on their own, and make it possible to keep half or all of the floor open for additional ventilation if needed. Inside each chicken wire frame we put recycled cardboard cut to fit, which is then covered with pine shavings. We did this because our chicks arrived at ages six and ten weeks, with tender little feet, and most chickens do not like to walk on chicken wire. We have not decided yet if later we will stop using the cardboard inserts. For now, the chickens seem to like it very much the way it is. And besides, the cardboard is free from Costco. 🙂
This design in combination with the large window that opens up makes cleaning the house very easy. The chicken wire frames with bedding can be removed through the open window (or access door), and the plywood panels can be pulled out leaving only the support frame boards. Once the plywood panels are removed, it’s possible to stand inside the hen house and sweep out any remaining pine shavings that sit on the frame boards and inside the nesting boxes.
Final Steps – Roosting Bars, Chicken Ladder, and Fence
As anyone knows, chickens like to roost. This house does limit the roosting bar possibilities because of its large window and doors. We decided to place two roosting bars: one lengthwise, just behind the big window, and one just over the chicken door running front to back. This was actually much simpler to do than we expected. We cut two pieces of left-over apple tree branch trimmings to length and screwed them in place with long screws from the outside.
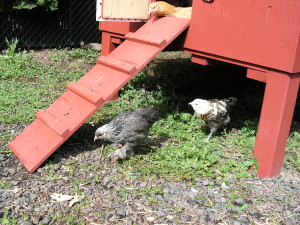
We built the ladder literally 2 hours before picking up our chicks. 🙂 Some left-over pieces of 2x2s screwed against a long piece of plywood was all that was needed. The ladder is removable, and two partially inserted screws on the underside at the top corners act as pins to keep it from sliding down.
For the fence, we used some simple coated wire fencing material that looks nice and doesn’t give the appearance of a cage. We built a gate with a gate kit from Home Depot, and mounted the gate on 4×4 posts. Except for our two Araucanas, our chickens are not flyers, and we left the top open. Our large hedge surrounding the hen house area provides some protection from hawks and eagles.
Ducks? Ducks!
Very shortly after our chicks were installed in their new home we received a request from a friend to adopt a pair of Khaki-Campbell/Indian Runner mix ducks. Apparently, the female had been stepped on by an alpaca in her early childhood which made her a “lame duck”. 🙁 Her devoted drake had kept her safe, however her broken foot made her vulnerable in her then current country living situation, so of course we agreed to take them in so as to provide a more protected environment for their happy life together. It seems to be working out quite well, although there is the occasional kerfuffle, mostly due to the drake’s overzealous protective behavior. So now we are off to build the duck house, stay tuned… 🙂
The Daily Morning Ritual
